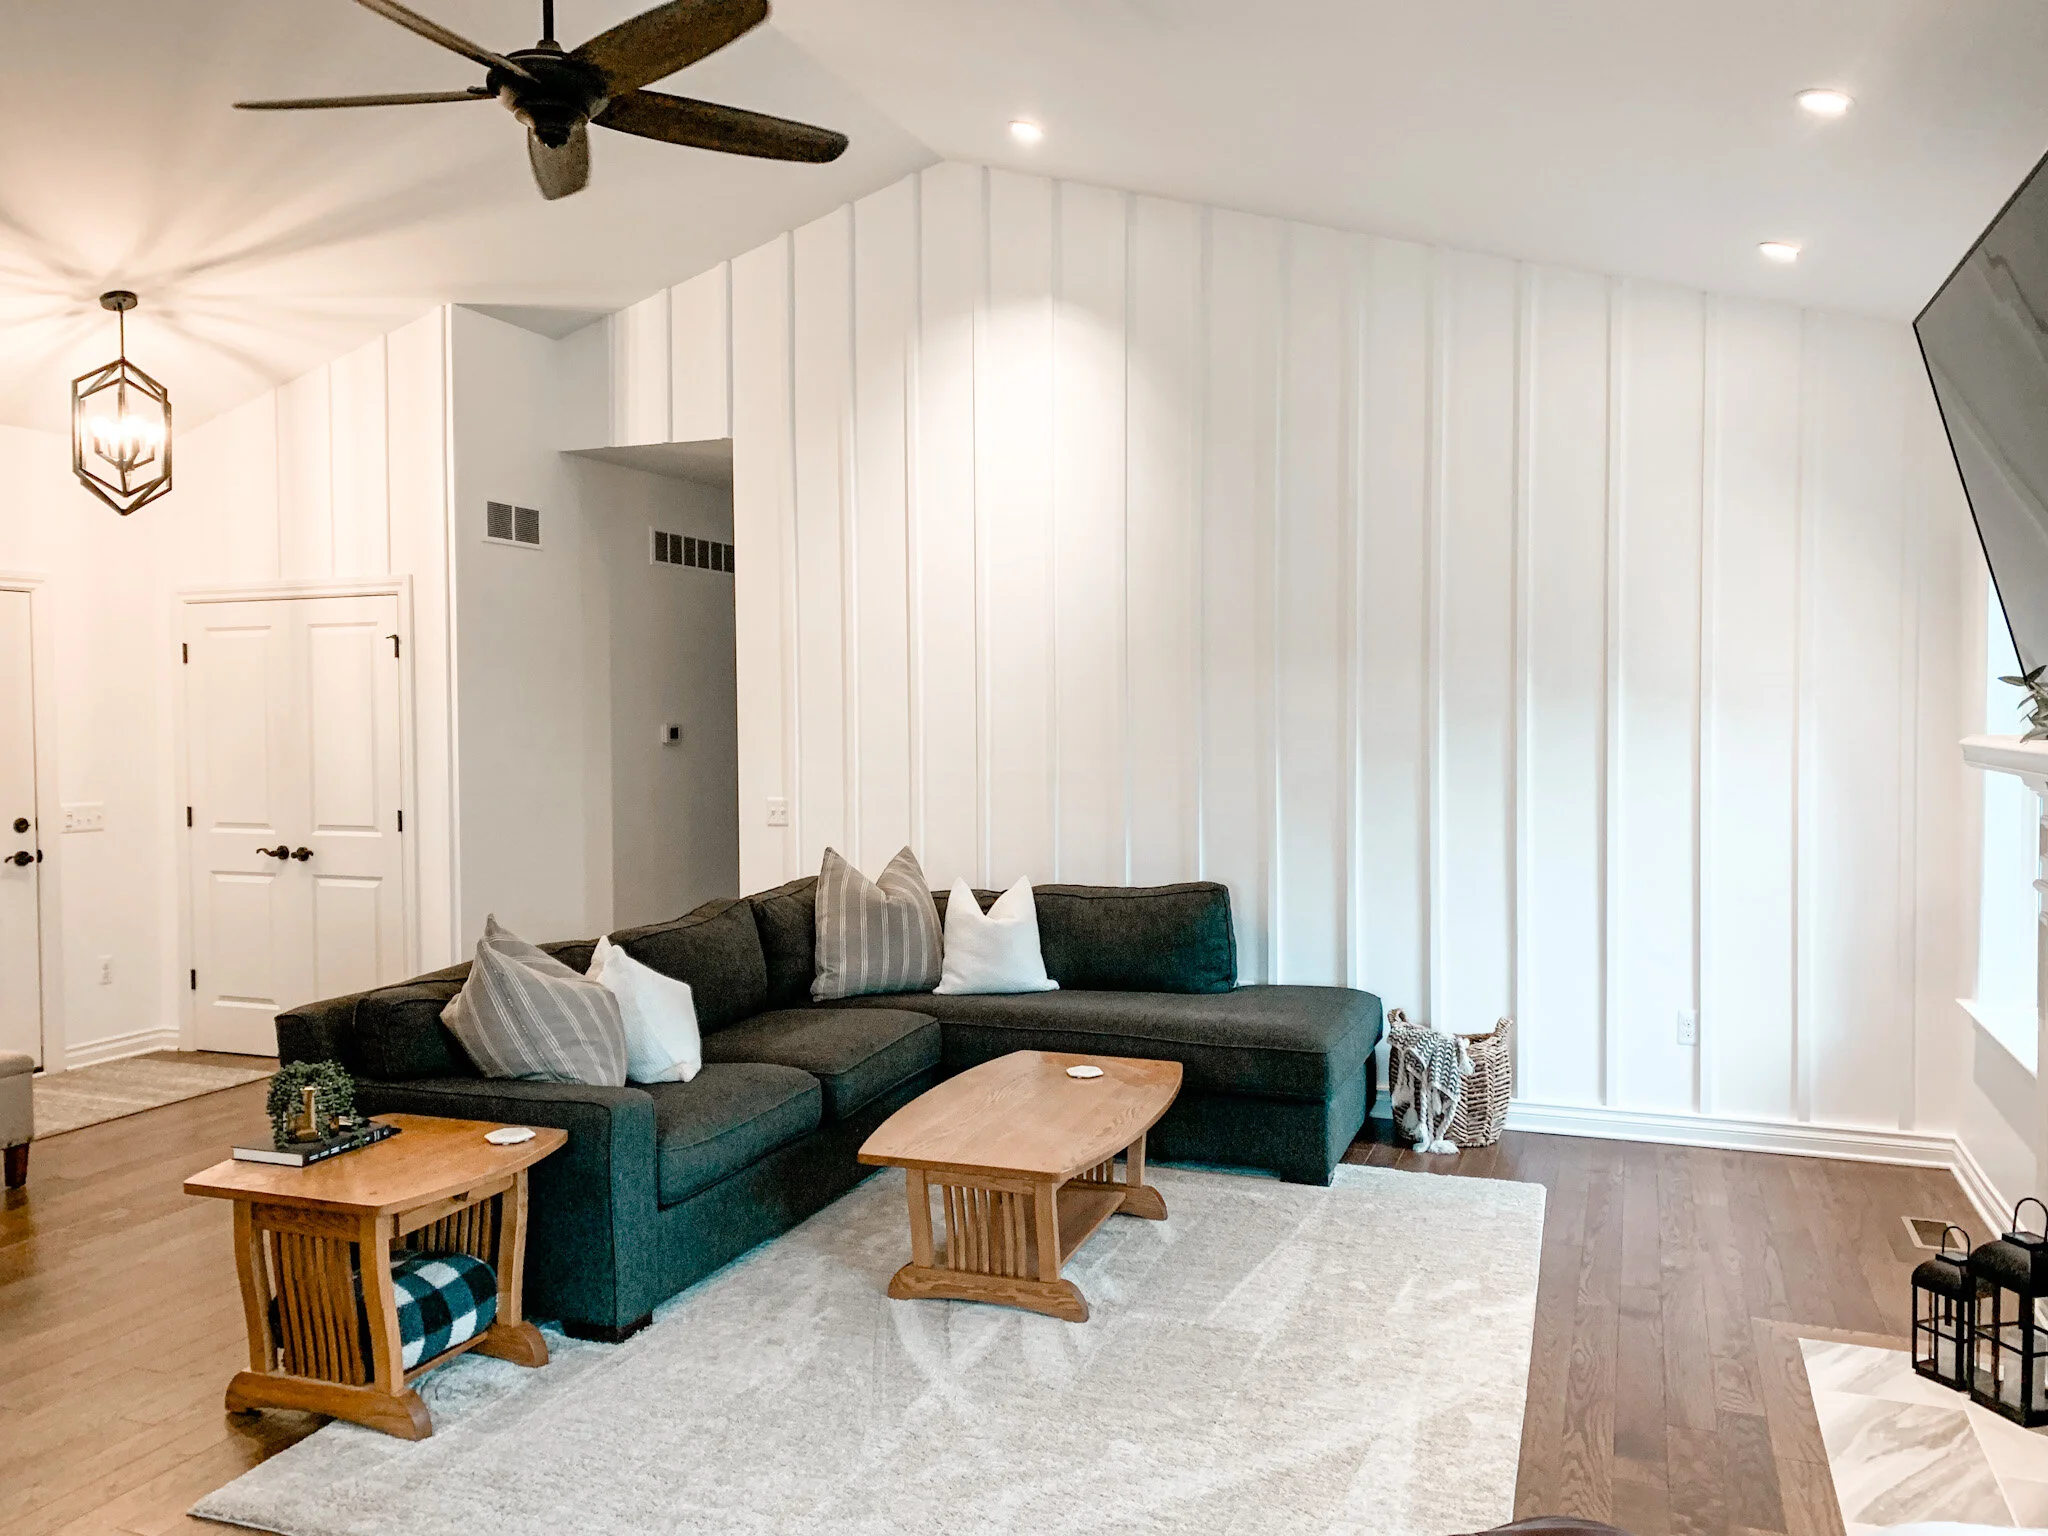
Living Room Feature Wall
Wow. That is really all that comes to mind when I look at the feature wall that I recently completed in my living room. It is truly humbling when you look at the finished product of all of your hard work and can say “I did that!”
This feature wall was probably a 3/10 on the difficulty scale. Avoiding outlets and switches while having the most visually appealing gaps was the most difficult part because math can be hard (at least it is when you’re like me and don’t do math on a regular basis). Let’s break down how I did this project.
Materials Used:
27 - 1” x 2” x 8’ boards
2 - 1” x 4” x 8’ boards
Wood primer (Kilz)
1 gallon of Behr Ultra Pure White paint (I used an eggshell finish)
4 tubes of paintable caulk
Wood filler
Power Tools Used:
Sander
Compound Miter Saw
Nail Gun w/ Air Compressor
How To:
Determine the spacing needed between each slat. My wall was particularly tricky because I did not want the slats to be in too close to the edge of the wall in any of the corners. I also did not want there to be a slat directly at the center/highest point of the vaulted ceiling. I decided to go with the following spacing: 12” on center which means that each gaps was about 10 1/2 inches apart. This spacing left about 5-6 inches at each end.
Next step, was to prep all of the wood. I sanded each piece of wood and primed it before making any cuts. I did have to touch up some priming later, but I am overall happy with my choice to prime all the wood prior to putting it up, as it saved me a significant amount of time.
Next, pulled the lower trim and shoe molding off of the wall and removed the caulk and nails. This step could be skipped if you have different lower trim or don’t mind a chamfered edge. I wanted my boards to sit flush so I installed the two 1” x 4” x 8’ boards behind the original trim. I did do a chamfered edge for the one board next to the front closet because I didn’t want to have to pull off all of the trim around the doors as well. Not the ideal look I was going for, but I figured no one would even notice (which they haven’t). After I installed the 1” x 4” I replaced the original trim and shoe molding.
4. I began nailing up the vertical slats. I used a level to draw a line and aligned my first slat to that (I realize now that I could have just used my laser level, oh well lol). After that I used the 10 1/2 inch spacer to nail up the rest of the boards. I didn’t buy boards the length of the wall so I did miter the joint between the two connecting vertical boards with a 45 degree angle.
5. Next, I filled the gaps between each join with wood filler and sanded until smooth. This is where I went back and re-primed the newly exposed wood.
6. I caulked the edges and filled the nail holes.
7. Finally, I painted and TA-DA! The room was finally complete!


